
“Work for something because it is good, not just because it stands a chance to succeed.”
— VÁCLAV HAVEL
I’m a neo-luddite with a background in astronomy and technology. My work has always been in the intersection between people, science, and technology. I also dabble in Product Management for my grown up job.
Having finished a Master of Science (Astronomy) at Swinburne, I took on Post Graduate studies in Arts majoring in the History and Philosophy of Science. Up next will be a PhD (so get ready to call me Doctor!). Yeah, I enjoy studying ¯\_(ツ)_/¯
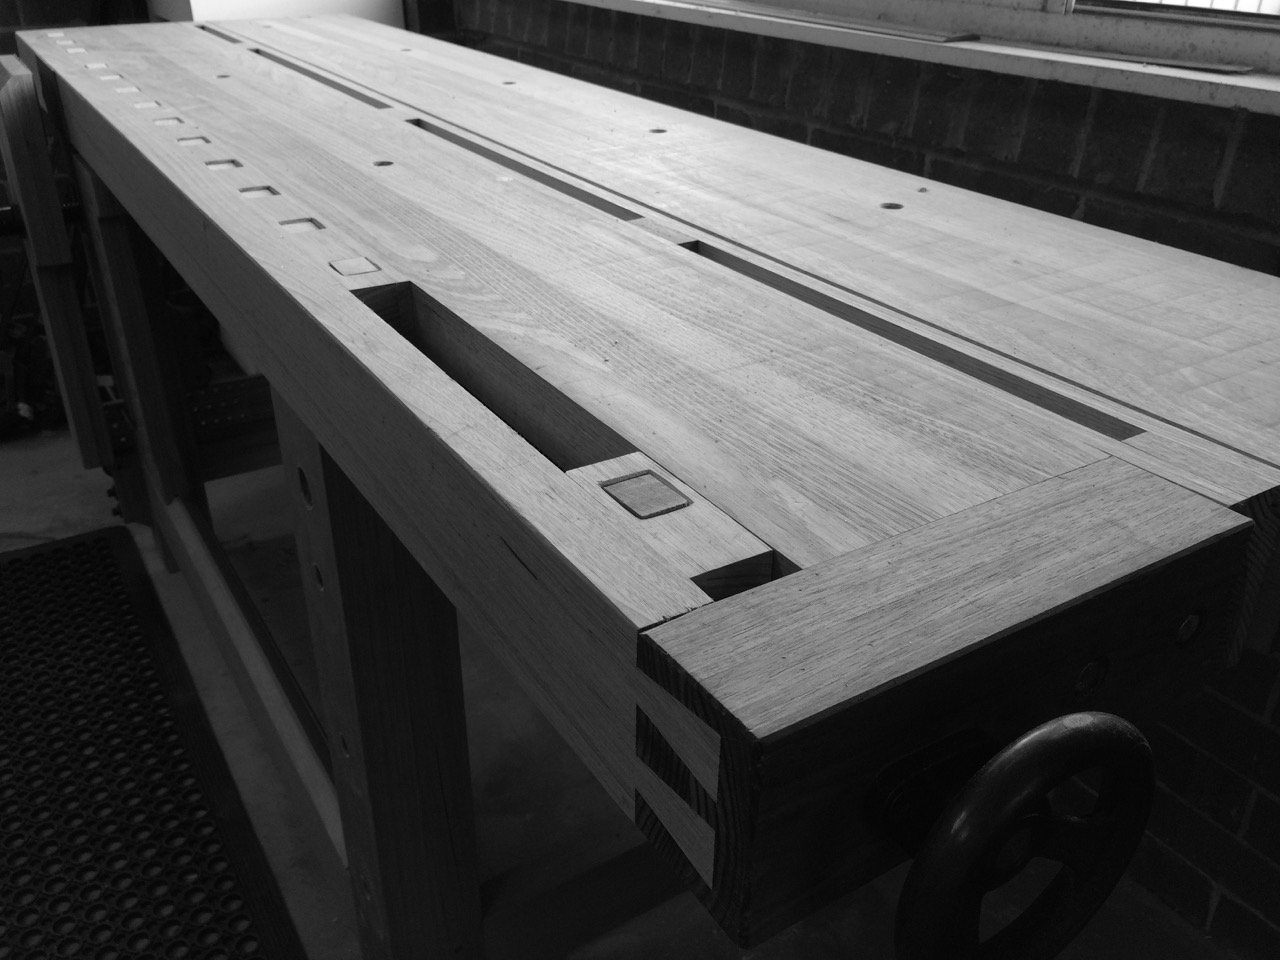
When I have time, I build custom made timber furniture.
I first trained as a classical musician and composer and my musical tastes today are a little eclectic. You can find me listening to everything from Ravel, Stravinsky and Mozart to The Smiths, Radiohead, Rufus Wainright, with a bit of Dream Theater thrown in on occasion. Art and all things beautiful pique my interest.
The man departs -
there remains his shadow
— CHINESE APHORISM
Email
→
Height
6' 1"
Hair Color
Was blondish
Eye Colour
One blue, one green